
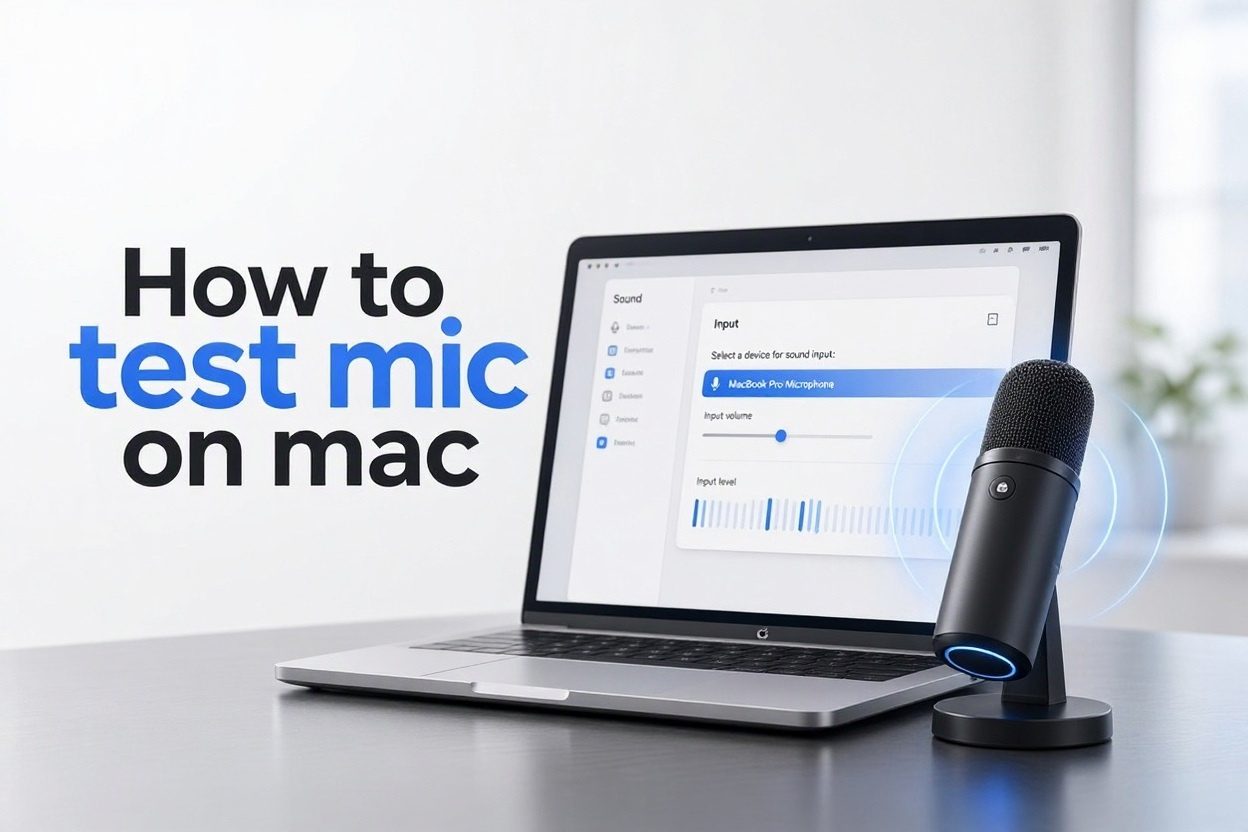
Knowing how to test mic on Mac is useful before a video meeting, voice recording, online class, interview, or support call. A quick check can reveal whether your Mac hears you clearly, whether the right microphone is selected, and whether the input level is strong enough.
Most microphone problems are simple settings issues rather than hardware failures. Your Mac may be listening to a webcam, headset, or external display instead of the microphone you intended to use. Privacy permissions can also prevent an app from receiving audio.
This guide explains practical ways to test a Mac microphone, interpret the results, fix common problems, and prepare for clear audio in everyday situations. You do not need special technical skills to follow the checks.
A microphone test is more than checking whether a sound meter moves. It confirms that the selected input device captures your voice at a useful level without excessive noise, distortion, or interruptions.
Testing early prevents awkward moments when other people cannot hear you during a call. It also gives you time to adjust microphone placement, choose a quieter room, or reconnect an external device.
Mac computers can use several audio inputs, including the built-in microphone, wired headsets, wireless earbuds, USB microphones, webcams, and audio interfaces. The active input may change when you connect or disconnect a device.
A good test should include normal speaking, a brief pause to assess background noise, and a slightly louder sentence to make sure the audio does not distort. Listening to a recording is often more revealing than watching a level meter alone.
Repeat the test whenever you change your accessories, update macOS, begin using a new app, or move to a different workspace. This small routine helps keep calls and recordings reliable.
How Can You Test a Microphone on Mac?
1. Open Sound Settings
Start by opening System Settings and choosing Sound. Select the Input area to view available microphones. Speak at a normal volume and watch the input level indicator. If the bars react to your voice, your Mac is receiving audio from the currently selected microphone.
2. Select the Intended Input Device
Check the name of the selected microphone before testing. If you connected headphones, a USB microphone, webcam, or display, Mac may choose that device automatically. Click the microphone you actually want to use, then speak again and confirm that its input meter responds.
3. Adjust the Input Volume
Use the input volume control to set a healthy level. Begin around the middle, then speak from your usual distance. The meter should move clearly without remaining at the maximum. A very low level makes speech hard to hear, while an overly high level can create clipping.
4. Record a Voice Memo
Voice Memos provides a simple real-world microphone test. Create a short recording while speaking normally, then play it back through headphones or speakers. Listen for clear words, natural volume, background hum, crackling, and sudden changes in sound that a meter may not reveal.
5. Test Inside the Calling App
Open the audio settings in the app you plan to use for calls or meetings. Many apps allow you to choose an input device and show an input meter or playback test. This matters because an app can use a different microphone than the one selected in macOS.
6. Check Microphone Permission
If the meter works in Sound settings but not in an app, review Privacy and Security settings. Find the Microphone permission list and make sure the app is allowed to use it. Close and reopen the app after changing permission so it can request the microphone again.
What Should a Good Mac Mic Test Show?
1. Clear input activity: The input meter should respond promptly when you speak and settle when you are silent.
2. Natural speech volume: Playback should be easy to hear without forcing listeners to increase their volume.
3. Correct device selection: The recording should come from the microphone closest to you, not an unused webcam or monitor.
4. Low background noise: A quiet pause should not contain persistent fan noise, buzzing, or room echo.
5. Stable sound quality: Your voice should remain consistent when you speak a few normal sentences without dropouts or distortion.
Mac Microphone Checks Before a Call
- Device connection: Reconnect wired microphones firmly and confirm that wireless devices are charged, paired, and selected as the input source.
- Input selection: Verify the microphone name in both macOS Sound settings and the meeting app before joining an important call.
- Permission access: Allow the calling or recording app to use the microphone in Privacy and Security settings when prompted.
- Speaking distance: Keep the microphone close enough for clear speech, but not directly in front of your mouth where breath sounds may become distracting.
- Room noise: Turn off nearby noise sources where possible, close windows, and avoid placing the microphone beside a fan or keyboard.
- Playback review: Make a brief recording and listen back before a high-stakes call, presentation, interview, or remote lesson.
How Do You Fix a Mac Microphone That Fails?
1. Raise a Low Input Level
If people can hear you only faintly, return to Sound settings and increase the input volume gradually. Speak at your normal level while checking the meter. Also move closer to the microphone rather than shouting, because shouting can make speech sound harsh or distorted.
2. Disconnect Competing Audio Devices
External screens, docks, webcams, headphones, and Bluetooth accessories can introduce extra microphone choices. Disconnect devices you do not need, then retest. This narrows the problem and helps identify whether Mac was choosing an unexpected input source instead of the built-in microphone.
3. Restart the Problem App
An app may keep using an old device selection after you connect a new microphone. Quit the app completely, reconnect the desired device if necessary, and open the app again. Check its audio settings before starting another test or joining a meeting.
4. Review Privacy Permissions
A blocked microphone permission can make an app appear broken even when the microphone works elsewhere. Enable access for the relevant app in Privacy and Security settings. If the app is missing from the list, reopen it and attempt to start a recording so it can request access.
5. Check Physical Controls
Some headsets, webcams, USB microphones, and audio interfaces have mute buttons, gain dials, or hardware switches. Inspect these controls before changing more settings. A physical mute control can prevent input even when Mac correctly shows the device as selected.
6. Restart Your Mac and Retest
Restarting clears temporary audio conflicts and reconnects many external devices cleanly. After the restart, test in Sound settings first, then in Voice Memos, and finally in the affected app. If no microphone works anywhere, the issue may require hardware support or further diagnostics.
Testing a microphone on Mac is straightforward when you check the selected input, watch the input meter, and make a short recording. These steps confirm both signal activity and real listening quality.
For the most reliable result, test in the same app, room, and device setup you will use for the actual call or recording. Small changes in accessories or permissions can affect the outcome.
If your microphone still fails after checking settings, permissions, connections, and physical controls, restart the Mac and test another input device. That comparison helps separate an app issue from a device or hardware issue.
FAQs About How to Test Mic on Mac
How do I know if my Mac microphone is working?
Open System Settings, select Sound, and choose Input. Speak normally while watching the input level indicator. Movement in the meter shows that Mac detects sound. For a fuller test, record a few sentences in Voice Memos and listen for clarity, volume, and unwanted noise.
Why Is My Mac Using the Wrong Microphone?
Mac may automatically select a newly connected headset, webcam, display, or Bluetooth device. Open Sound settings and choose the intended microphone manually. You should also check the audio settings inside your meeting or recording app, because it may use a separate input selection.
How Can I Test My Mic Before a Video Call?
First confirm the microphone in Sound settings and make a quick Voice Memos recording. Then open the video-call app and use its audio settings or test feature. Speak at your normal call volume, check that the app input meter reacts, and confirm microphone permission is enabled.
Why Does My Microphone Work in Settings but Not in an App?
This usually points to app-specific settings or privacy permission. Make sure the app has access to the microphone in Privacy and Security settings. Next, select the correct input device within the app itself. Quit and reopen the app after changes so it can refresh its audio connection.
What Input Level Should I Use on a Mac?
There is no single perfect setting because microphones and speaking distances vary. Set the level so normal speech creates clear meter movement without staying at the maximum. Make a short recording and listen back. If your voice is quiet, raise the level slightly; if it distorts, lower it.
Can I Test a Bluetooth Headset Microphone on Mac?
Yes. Connect the headset, select it under Sound Input, and speak while watching the input meter. Then test it in the app you plan to use. Bluetooth headsets can switch profiles during calls, so a short recording or test call is helpful before an important conversation.